How to Look Good in EVERY Photo (For Non-Models)
These days creative photography has become the minimum required to stand out online - both for business and for personal use. Nowadays, you are compelled to take a snapshot or post a beautiful photo of yourself on social media. To stand out, you have to understand the technical aspects of photography (e.g. display, white balance), the creative (how it looks, is the photo visually interesting), and much more to effectively lead your digital presence.
Sadly, most of us aren’t naturally photogenic, and being the subject of multiple pictures often leads to more than a few we wished didn’t exist.
However, you don’t have to be a celebrity, model, or blogger to look great in photos. You also don't need an expert camera-man either. By adhering to these simple tips, you can begin mastering your own presence in front of the camera and take photos that you’re truly proud of.
Here are my top 10 tips to look good in every photo:
1. Practice
Figure out what angles look good on you. Of course, this rarely comes naturally to most of us and will take a lot of time to figure out. While it may appear ridiculous at first, practicing smiling, slightly turning your head, and modeling in front of the mirror to figure out your best sides goes a long way once you start taking photos. Professional models do this often to ensure they can achieve the most striking images.
2. Facial expressions
The zero expression is a very hard look and I strongly recommend you leave it for professional models. If you don't know how to smile, where to look, etc. it will show in the photo. So, learning the right facial expressions for your photos is definitely a must. This definitely doesn't come naturally to most people so practicing in the mirror is your best bet to finding what works best for you!
3. Make micro-adjustments in every photo that you take.
If you know any professional photographers, you'll maybe think it's excessive that they'll take anywhere from dozens to hundreds of photos of the exact same thing. However, the reason for this is trying to get just the right combination of elements for the perfect shot and often, patience is the virtue that helps you achieve it.
This means that for great photos, you need to take a LOT of photos of yourself. If you don't, there's a lower chance that you'll land on that perfect shot where everything comes together how you want it to.
To begin with, you want to establish what poses make you look your best and fit with your particular environment. Then, you may want to tilt your head slightly, moving in different angles and directions as well as your facial expressions while continuing to take shots until everything falls in place. If you use a Sony camera, you may want to try Sony's Imaging Edge mobile app where you can actually see yourself on the screen and control the camera remotely from your phone. This way you can see exactly what your camera is seeing before you take the shot.
4. Framing
Framing is exactly what it sounds like - viewing your image via something that frames it such as a window, a doorway, through leaves of a tree, etc.
It might seem like it doesn't really matter but if your frame is off then the entire photo is off. Try learning about the role of framing. This is one of the most crucial components of getting the perfect shot.
Some quick tips on framing:
Make sure you don't place yourself too close to the edges as it can appear that you're squeezing yourself into the frame.
Next, turn on the grid on your phone or camera to guide you.
You must ensure that your horizon is straight. If you want to be center-frame, your eyes should be along the top horizontal line of the grid. If you prefer to be off-center, then use one of the two vertical grid lines to align your eyes at that place.
Another crucial point is to ensure that your limbs are not cut out of the frame, as this can look pretty awkward.
Note: You can set up your frame before asking someone to take a photo of you. That way, you automatically ensure that they don't cut off the background, the sky, or your legs.

5. Lighting.
Lighting is everything in photography. Therefore, choosing the right lighting is essential to looking good in any photo. Even though you may be lured into taking photos in direct sunlight, this isn't the easiest way to capture good photos. The sun can generate harsh shadows on your face, whereas a bit of cloud coverage will soften these shadows.
Similarly, do not pose directly under a light when taking snapshots inside as it generates a similar effect. if you're sitting indoors and you don't have a professional photography light, find a window and utilize the natural light.
If you want to elevate your lighting from beginner to master level and take better photos from the start, I highly recommend shooting during sunrise or sunset.
On occasion, the contrast of light and dark can add a really creative edge to your photos if you know how to work with it. Practice again is essential to this.
6. The perspective
If you're a beginner, it's important to know that the different cameras and lenses you use will alter your face and features. You always want to make sure that you're getting the best out of your cameras.
If the camera is too close to you, you risk enlarging your features. Thus, it's better to move the camera away from you then zoom in to compress your features.
A good rule of thumb to remember is that whatever is closest to the camera will look larger.
If you want to look taller, for example, you can take photos of yourself from a lower angle and angle your legs towards the camera. If you're trying to make some part of you look a little smaller, find a pose that shifts that part of your body away from the camera a little bit.
Also, try to avoid taking photos of yourself from eye level for full body shots; This will shrink your legs, which doesn't look great.
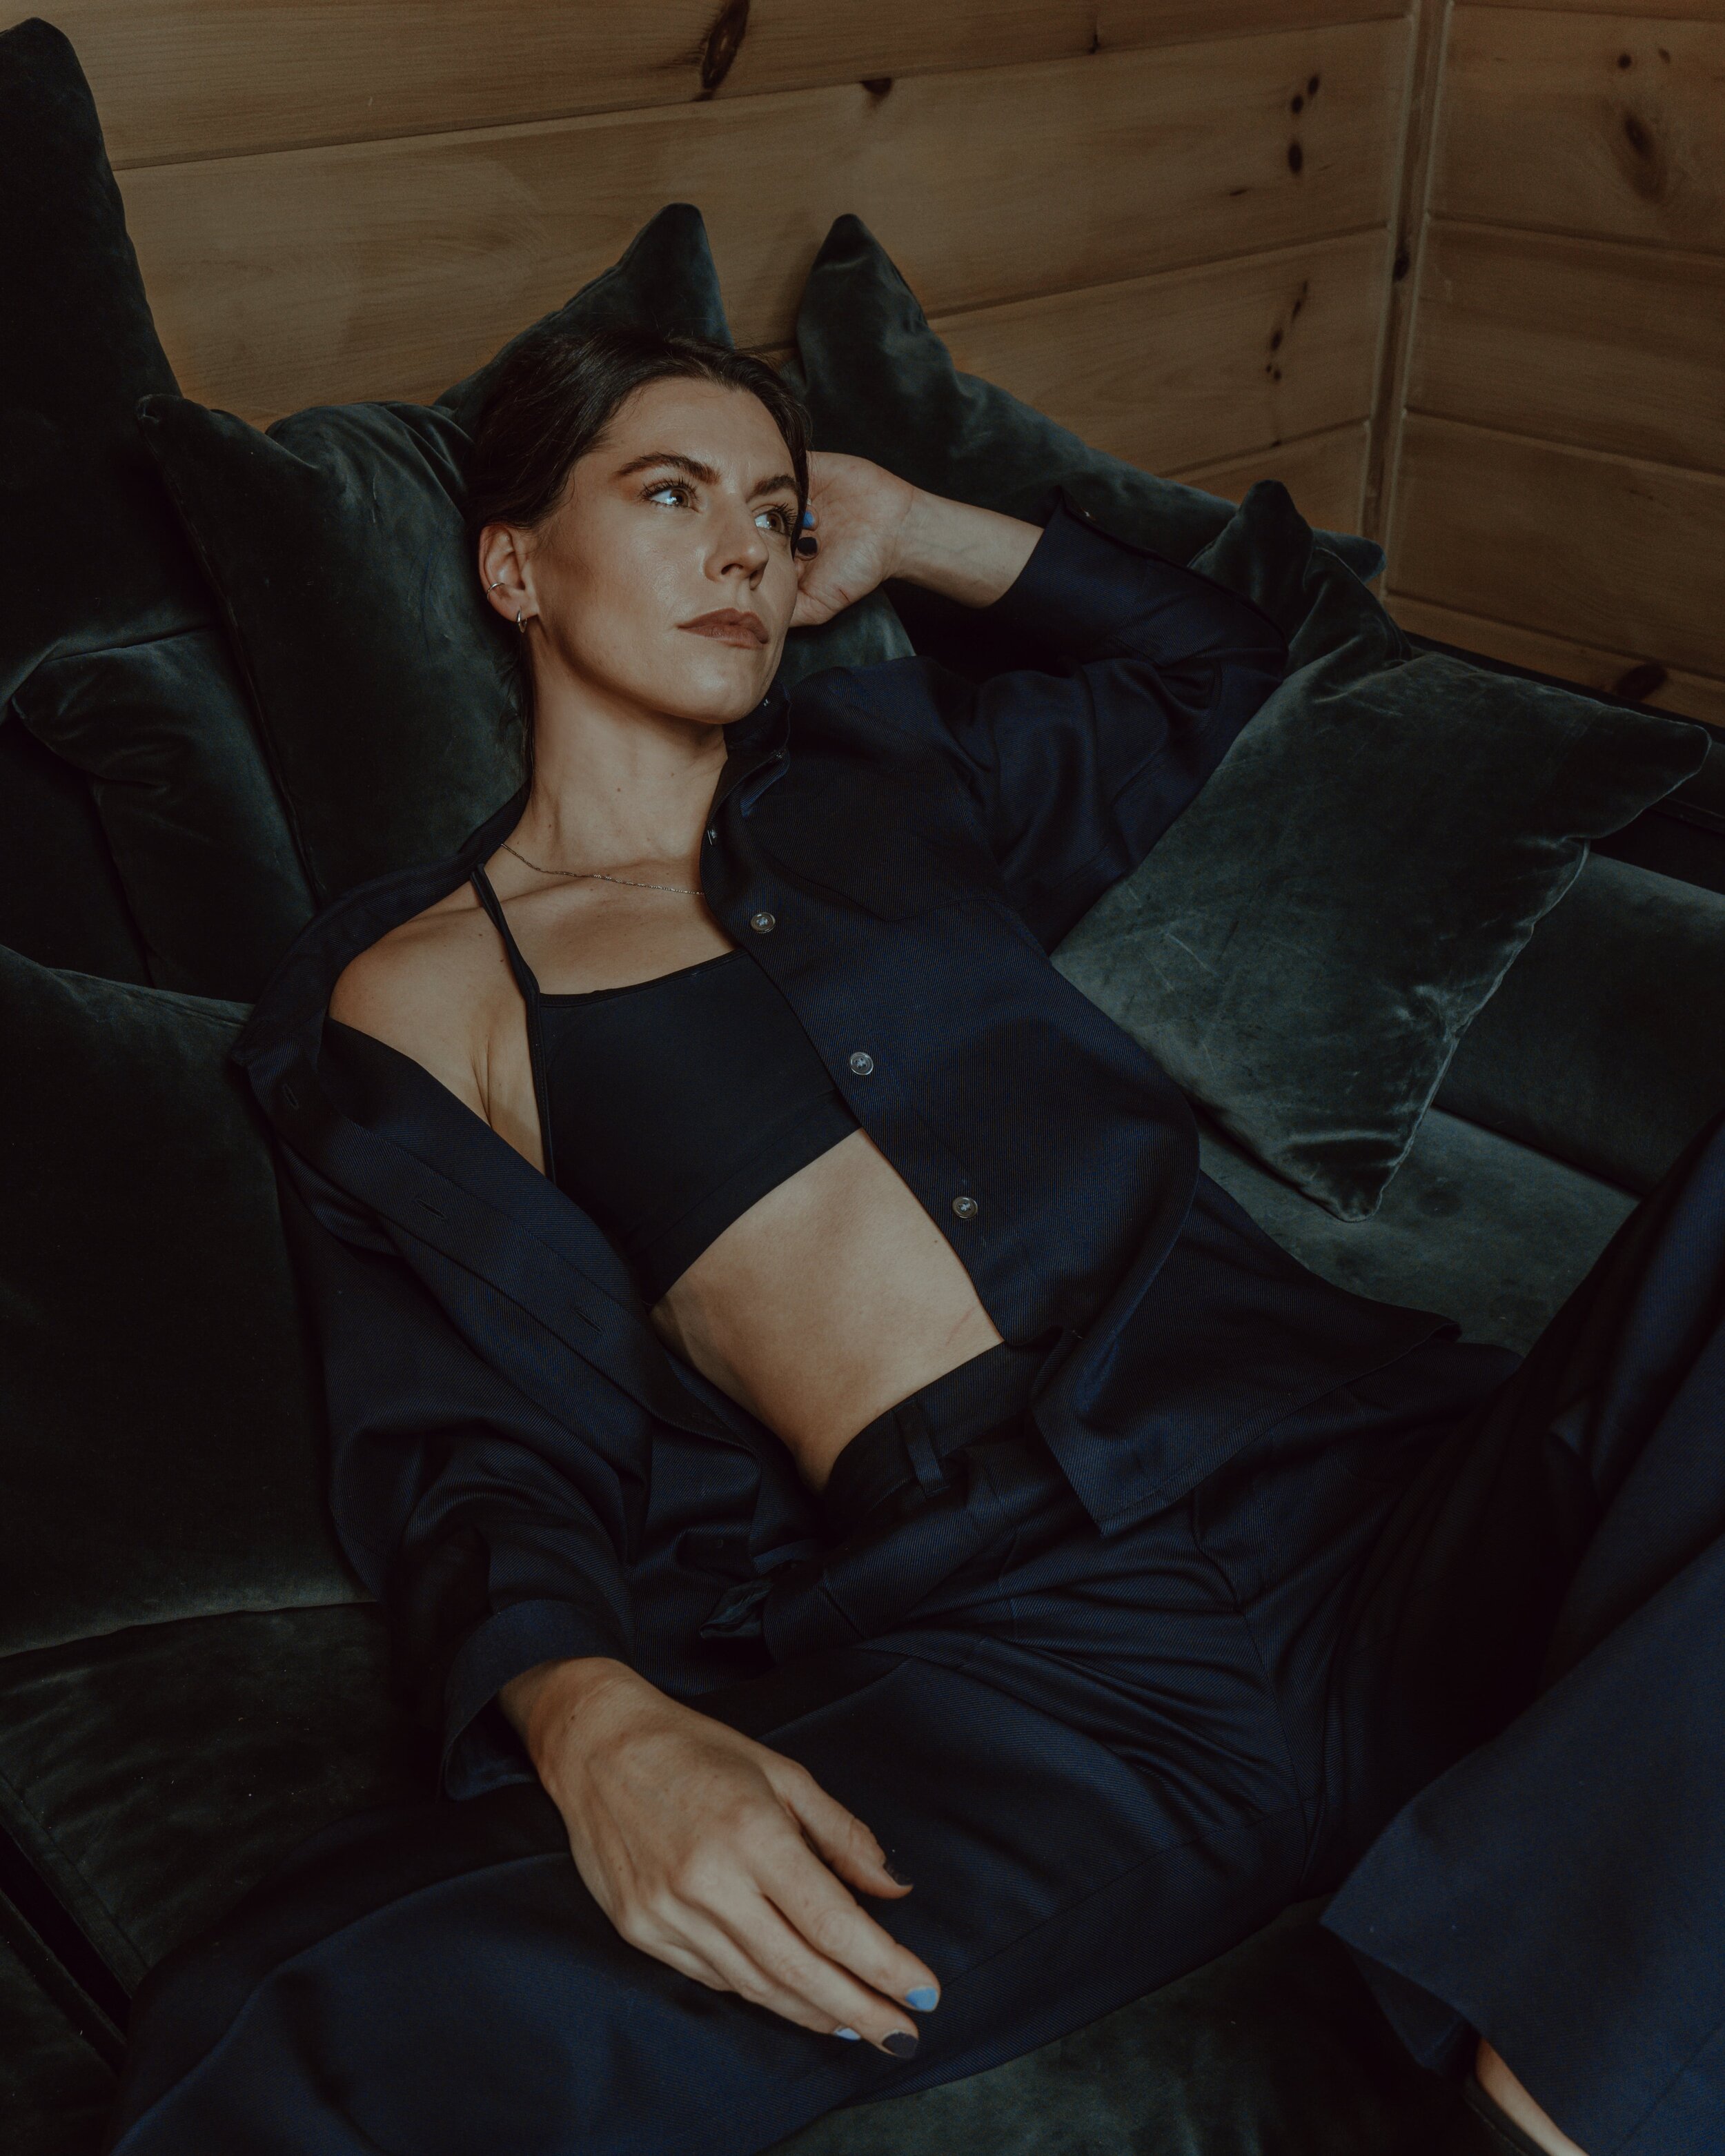
7. Dress to accentuate your body shape
Photography is art. You, as the subject, are part of this art so showing up as your best self is a must! Dress up and have fun with it!
What do you own that contrasts well with your location? How can a unique item in your closet help you tell a story or build a character?
You definitely don't need an extensive wardrobe to take amazing photos. Just play around with what you have, wear what makes you feel great about yourself, and just go with it!
8. Be further away from the camera
Looking through #advancedselfie on social media, I've noticed that most of the pictures are of just people. One way to spice things up is by showcasing a background a little bit. Scout out some beautiful locations, find a cool spot in nature, or showcase a particular aspect of your home to add a more dynamic element to your photo.
9. Overediting
If you're brand new to photo editing, be aware of overediting your photos. A lot of beginners in photography often do this, which is all part of the process. Just remember, it’s more appealing to keep things a little more on the natural side. The best way to see if you've overedited is to look at the work done by a professional photographers and compare side by side; does your photo look a little bit too overedited? If yes, tune it down just a little bit.
10. Engage in QUEEN MODE (A weird but effective tip to instantly get sky-high confidence)
This is a strange one but has worked for me for a long time. It refers to anchoring in Natural Language Processing (NLP). Think of this memory and build it into your mind that your body will switch into a 'queen mode' when you perform/do a certain action. For me, I've trained myself to 'go Queen'; I know exactly the state I want my body to be in and I created this a few years ago. It has worked wonders in boosting my confidence which really helps me in showcasing my absolute best while taking photos.
I hope you find these tips helpful to look your best in photographs! Do you have any of your own tips you’ve come across for killer photos? Drop them down in the comments!
For more in-depth information on shooting next level self-portraits, check out my Advanced Selfie University here.